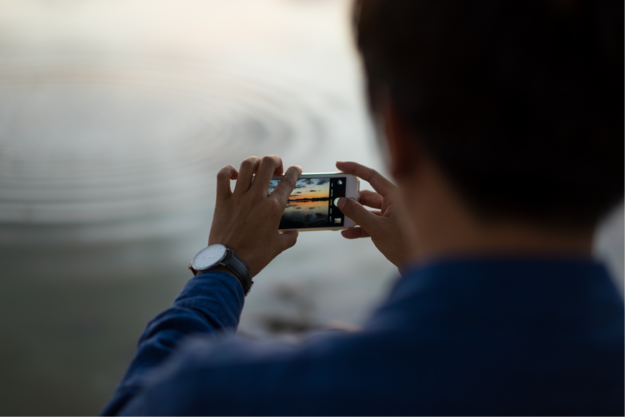
iPhone’s “Live Photos” feature is a great way to capture the best moments of your life. It helps you not only take a picture but make the moment more visual by recording a mini video accompanied with the audio. If you have iPhone 6S or later models, you can take live photos from your camera just like you take a regular photo from the camera app. With Live Photos, your camera records 1.5 seconds before and 1.5 seconds after the Live Photo is taken. Live Photos helps you bring photographs to life and it also adds audio to your photos.
Once you take live photos from your camera app, you may want to share them with your followers on social media. Instagram is one of the most popular photo and video sharing platforms, but unfortunately, it doesn’t support iPhone’s Live Photos feature. Although you can’t share your live photos directly, don’t worry because you can still share them on the Instagram app.
Before we dive into the details of how to post a Live Photo on the Instagram app, make sure that you know how to take a Live Photo on your iPhone.

How to take lives photos on iPhone
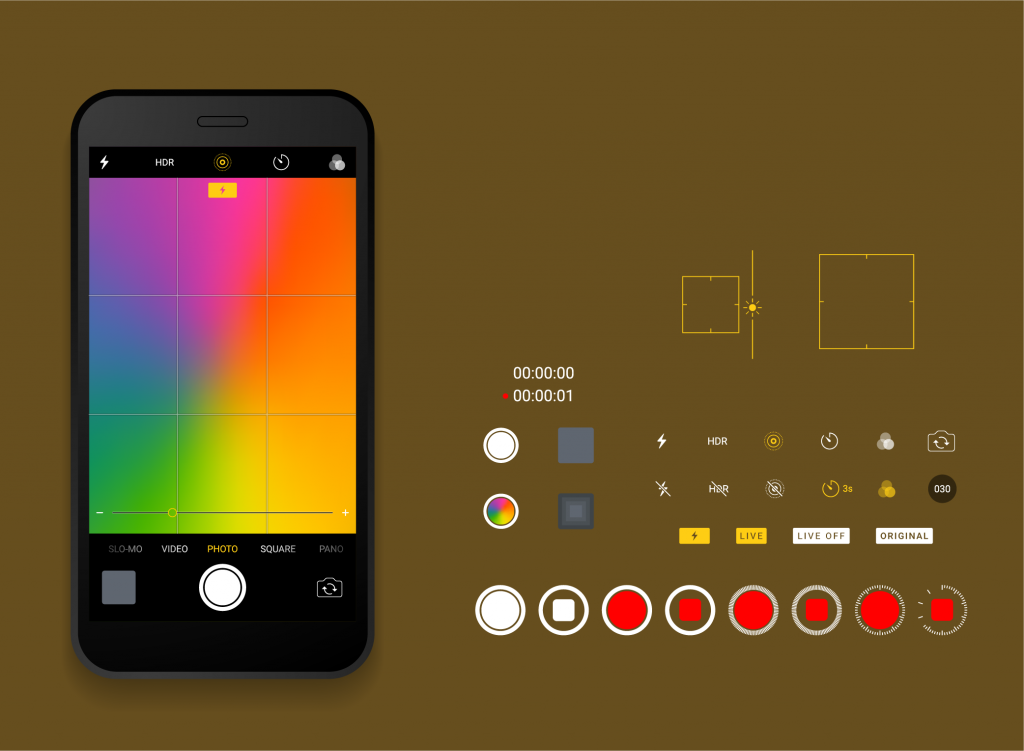
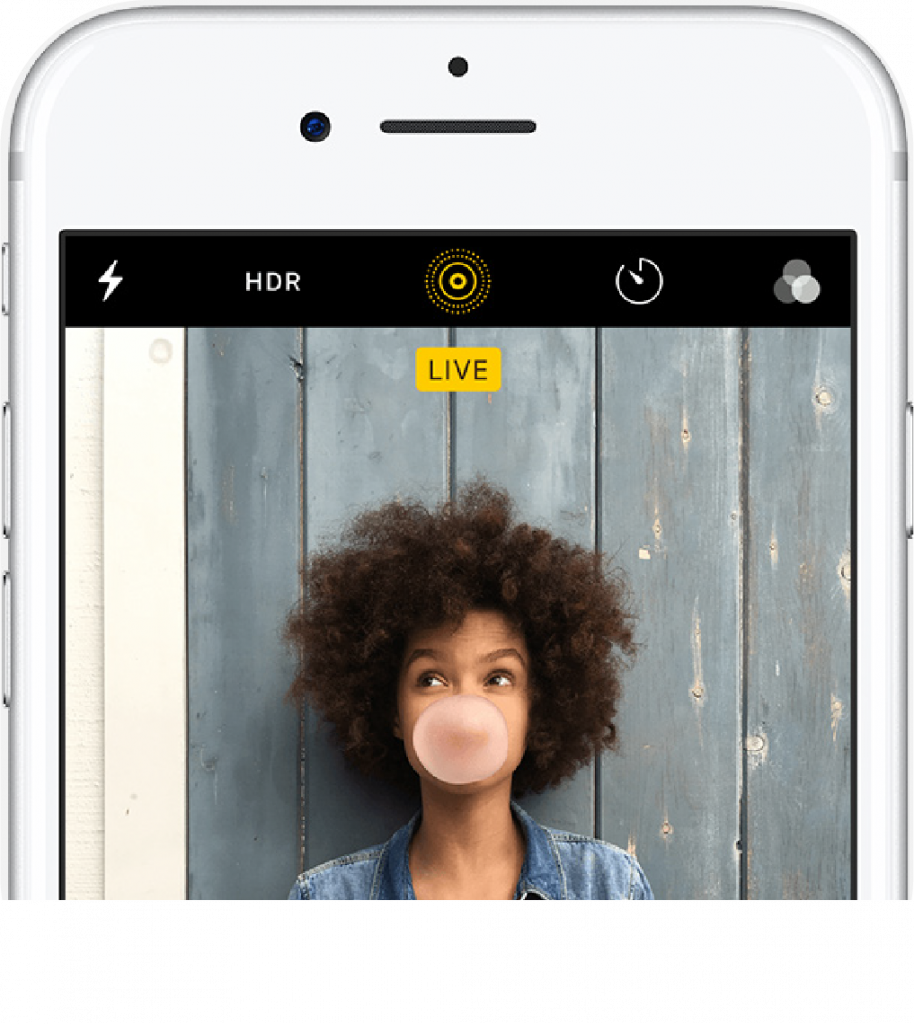
If you want to share a Live Photo on Instagram, make sure that “Live Photos” mode is turned on. To do this, open your camera app on your iPhone. Make sure that your mobile device is set to Photo mode. Then, press the icon indicating Live Photos. When the icon is turned to yellow, it means that you can take Live Photos now.
Take your photo as you do when you take a regular one. Hold your smartphone still and press the shutter button to take the picture. Because Live Photos will capture 1.5 seconds before and 1.5 seconds after you take the photo, wait 1.5 seconds after you press the shutter button.
Note that you can take Live Photos both from your front and rear cameras. Also, when you take a Live Photo, it means that your photo has audio just like a video has.
How to View Your Live Photos
You can see Live Photos as you see the regular photos on your camera roll. However, your phone indicates a Live Photo with a symbol at the left top of the photo.
To view one of them, press and hold the image and you’ll see the animation of your Live Photo.
How to Post Live Photos on Instagram
iPhone’s Live Photos is a magical feature added to iPhone 6S and later models. Since Instagram doesn’t allow you to share Live Photos directly, you should first save them as a video. Here’s how to post a Live Photo on your Instagram as a post:
- Open your Photos app on your smartphone.
- Find the Live Photo that you want to save as a video.
- Select the “Share” button in the lower left-hand corner.
- Scroll down and choose the option that says “Save as Video.”
- Now open the Instagram app on your smartphone.
- Hit the “+” button at the right top corner of the page.
- Select “Post” and choose the video that you’ve saved as a video.
- Tap “Next” to share the video with your followers.
- You can add a caption if you want.
- Select “Share.”
How to Post Live Photos on Instagram Stories
If you want to share a Live Photo on your Instagram story, you can post it as a Boomerang. An Instagram Boomerang is neither a photo nor a GIF. It’s a back-and-forth mini video that allows you to record a looping mini video clip. Here’s how to post a Live Photo as a Boomerang on your Story:
- Open the Instagram app on your mobile device.
- Swipe left to open the Story section.
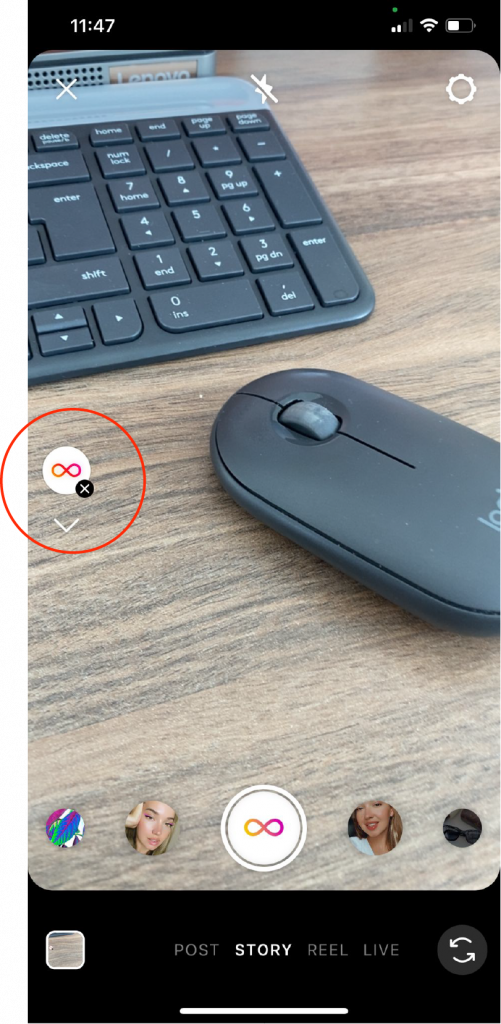
- Select the Mobius strip sign on the left side of the screen to create a Boomerang.
- Once you’ve selected the Boomerang option, press the Camera Roll icon.
- Select the Live Photo that you want to share as a Boomerang.
- Once you’ve selected a Live Photo, you can select one of the icons at the bottom of the screen. They will change the mode of your Boomerang that you want to share.
- You can create a classic Boomerang. Also, you can create a slow-motion, echo, or duo version of your Boomerang.
- You can add text or stickers to your Story.
- When you’re okay with your settings, press “Your Story” or “Close Friends” depending on which group you want to share it with.
- If you want to send it to a specific person or a group, press the “Send to” button. Search for the person/group that you want to send it to.